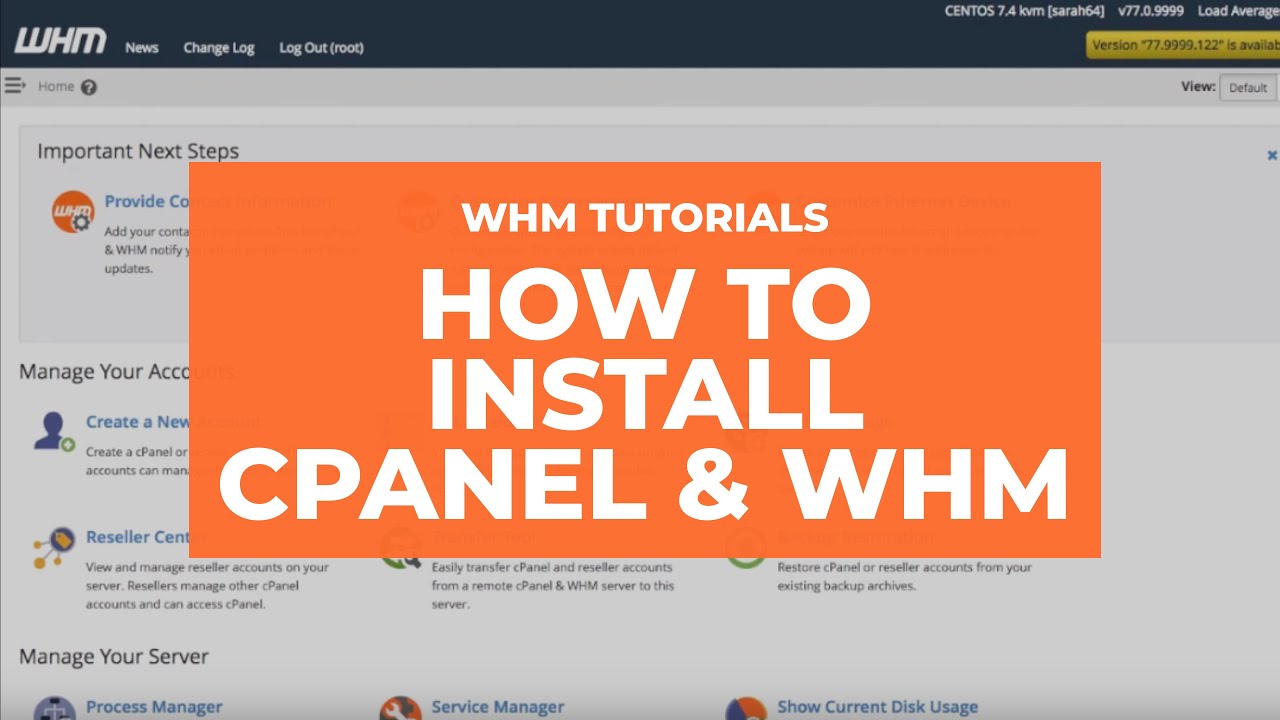
How to Install, Update, and Uninstall Shared cPanel License
Introduction
The Shared cPanel License is a cost-effective solution for web hosting providers, enabling multiple users to access cPanel services with ease. It offers extensive features like site management, database configuration, and email integration. This guide explains how to install, update, and uninstall a Shared cPanel License. For affordable licenses, visit LicenseTwo.
Step 1: Prerequisites
Before starting, ensure the following:
- An active Shared cPanel License key from LicenseTwo.
- A supported Linux distribution (CentOS, AlmaLinux, or CloudLinux).
- Root access to the server.
How to Install Shared cPanel License
- Download the Installation Script
Run the following command to download the cPanel installer:bashCopy codecd /home && curl -o latest -L https://securedownloads.cpanel.net/latest - Run the Installation Script
Execute the installer script:bashCopy codesh latestThis process will configure your server and install cPanel. - Activate Your License
After installation, register your license:bashCopy code/usr/local/cpanel/cpkeycltEnsure your server IP is registered with the license key. If not, log in to LicenseTwo to manage the IP.
How to Update Shared cPanel License
- Run the Update Command
Update cPanel to the latest version using the following command:bashCopy code/scripts/upcp --force - Verify the Update
Log in to WHM and check the cPanel version under “Server Information.”
How to Uninstall Shared cPanel License
- Backup Data
Create a backup of your server data to avoid losing important files. - Remove cPanel
Use the following script to uninstall cPanel:bashCopy codeyum remove cpanel - Revert to Original State
Reconfigure your server based on your requirements.
Conclusion
Managing a Shared cPanel License is simple with the right tools and knowledge. For the best deals on shared cPanel licenses and expert support, visit LicenseTwo. Stay tuned for more tutorials and hosting solutions.
