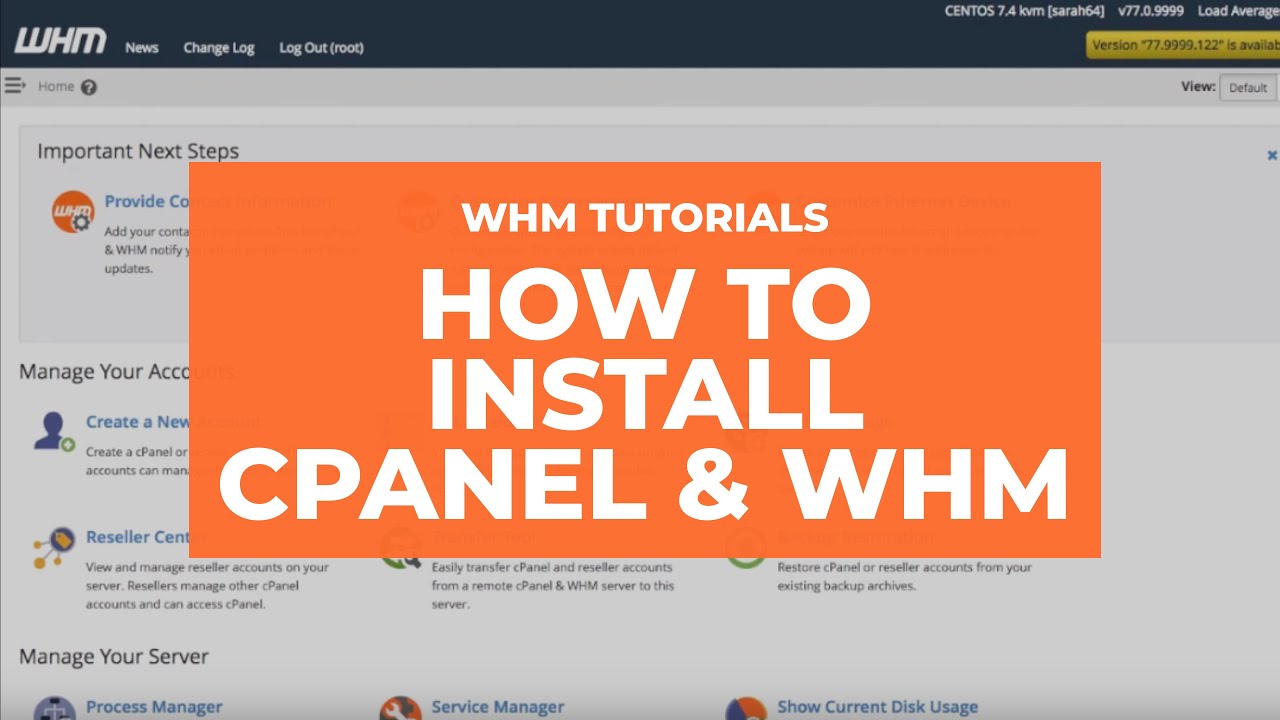
How to Install cPanel/WHM on Your Server: A Step-by-Step Guide
cPanel/WHM is a powerful and user-friendly control panel that simplifies server and website management. If you’re setting up your server for the first time, installing cPanel is a must. Here’s a comprehensive guide to get started.
Looking for affordable cPanel licenses? Visit LicenseTwo for the best deals.
Pre-Installation Checklist
Before proceeding, ensure the following requirements are met:
- A clean installation of CentOS, AlmaLinux, or RHEL (version 7 or 8).
- A valid cPanel license.
- Root access to the server.
- Minimum specifications:
- 1 GB RAM (2 GB recommended).
- 20 GB disk space (40 GB recommended).
For more details, refer to the official cPanel documentation.
Step 1: Update Your Server
Start by updating your server to ensure all packages are current:
bashCopy codeyum update -y
Step 2: Set a Hostname
Assign a fully qualified domain name (FQDN) as your server’s hostname:
bashCopy codehostnamectl set-hostname server.yourdomain.com
Step 3: Disable SELinux
cPanel requires SELinux to be disabled. First, check the status:
bashCopy codesestatus
If it’s enabled, disable it by editing the configuration file:
bashCopy codevi /etc/selinux/config
Set SELINUX=enforcing to SELINUX=disabled, save, and reboot your server:
bashCopy codereboot
Step 4: Install Required Dependencies
Install Perl, which is necessary for the cPanel installation:
bashCopy codeyum install perl -y
Step 5: Download and Execute the cPanel Installer
Navigate to the home directory, download the installation script, and execute it:
bashCopy codecd /home
curl -o latest -L https://securedownloads.cpanel.net/latest
sh latest
This process may take 30–60 minutes depending on your server’s performance.
Step 6: Access WHM
Once the installation completes, access WHM through your server’s IP address on port 2087:
plaintextCopy codehttps://your-server-ip:2087
Log in using your root credentials.
Post-Installation Configuration
- Activate Your License: Go to the License Activation section in WHM and enter your cPanel license from LicenseTwo.
- Set Nameservers: Configure DNS settings for domain management.
- Install Add-ons: Enhance server functionality by installing Softaculous, LiteSpeed, or CloudLinux.
Conclusion
Installing cPanel/WHM is straightforward when you follow these steps. With its user-friendly interface and robust features, cPanel is the perfect choice for managing websites and hosting environments.
For the best prices on cPanel licenses and other hosting solutions, visit LicenseTwo. Let us help you manage your server efficiently and affordably!
